The first week on a new hosting account is where calm setup either becomes a repeatable launch process or a stack of half-finished tasks that come back to bite later. A short checklist beats heroic troubleshooting almost every time.
Most teams arrive here with the same practical questions. Which access checks matter before any DNS change? When should SSL be verified instead of assumed? How do you set up business email without guessing at MX, SPF, or DKIM values? And what should be documented before the site is considered truly ready, not just technically online?
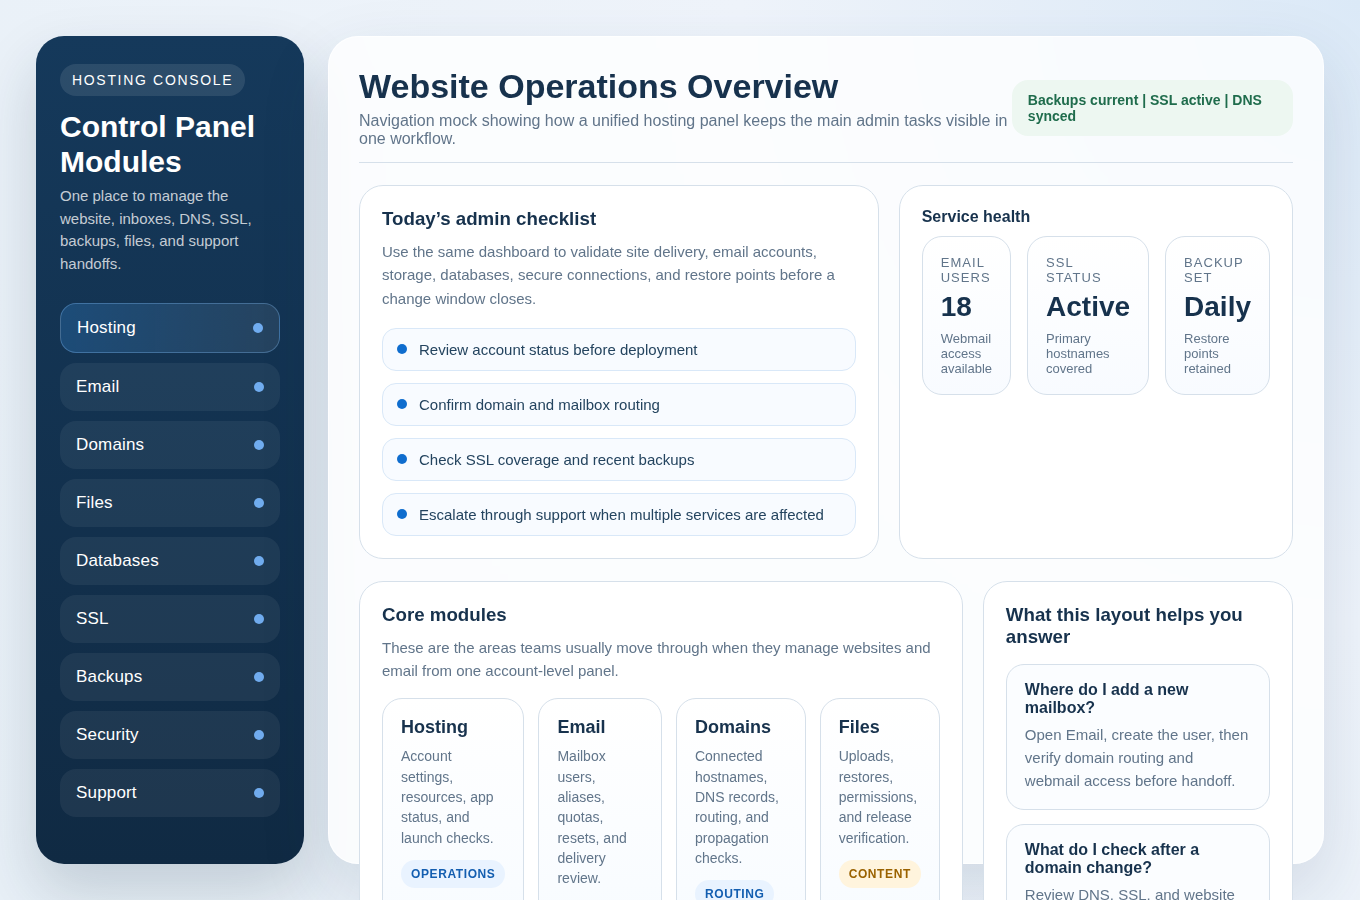
The useful takeaway is that launch week works better when the control panel becomes one working map for hosting, mail, DNS, SSL, backups, and support. This guide keeps the scope narrow and operational. It follows a one-week sequence from account access to final checks so a new customer, small team, or agency can move from “account created” to “website and email are working reliably” with fewer loose ends. If you need the broader service picture first, start with the main Control Panel overview and then come back to this launch workflow.
Written by Rowan Ellis
Updated June 20, 2026
Why Use a One-Week Launch Checklist?
There is nothing magical about seven days. The real value is sequence. A launch fails less often when you confirm access first, make domain and email changes in a controlled order, test before you move on, and document recovery paths before the site goes live.
I would frame the week this way: Day 0 through Day 2 is about making sure the account is pointed correctly. Day 3 through Day 5 is about making sure people can actually use the website and email setup. Day 6 and Day 7 are about making sure the environment is supportable after launch day. That distinction matters because a setup can appear done while still being fragile.
If your team is comparing platforms rather than configuring one already in place, the earlier Website Hosting and Email Hosting pages give the wider service context. This article assumes the account exists and the goal is a disciplined first-week rollout.
Launch Week Terms Worth Defining First
Before the day-by-day checklist, it helps to define the few terms that tend to slow new customers down:
| Term | Plain Meaning | Why It Matters This Week |
|---|---|---|
| Control panel | The main dashboard for managing hosting, email, DNS, files, databases, SSL, and backups | It should be your primary operating view for the full setup process |
| Webmail | Browser-based access to your business email | It is the fastest way to test mailbox access without depending on a desktop mail app |
| DNS | The record system that tells browsers and mail servers where to go | Website routing and email routing often depend on different records |
| SSL / HTTPS | The certificate and secure protocol that protect website traffic | Launch is not complete if the domain works but secure browsing is still broken |
| SPF, DKIM, DMARC | Email authentication records that help validate legitimate mail | They reduce spoofing risk and improve deliverability checks during setup |
| Backup retention | How long restore points are kept | It decides whether you can recover from a mistake found days later instead of minutes later |
With those definitions in place, the week becomes easier to manage because each task has a clear home. You are not “doing hosting.” You are verifying a few specific systems in a sensible order.
Day 0-1: Confirm Access and Essentials
The first question is not whether the website is live. It is whether the people responsible for launch can reach the systems they need without improvising later.
Start with this access checklist:
- Log in to the control panel. Confirm the main account works and that the dashboard clearly exposes hosting, DNS, email, SSL, backups, and support paths.
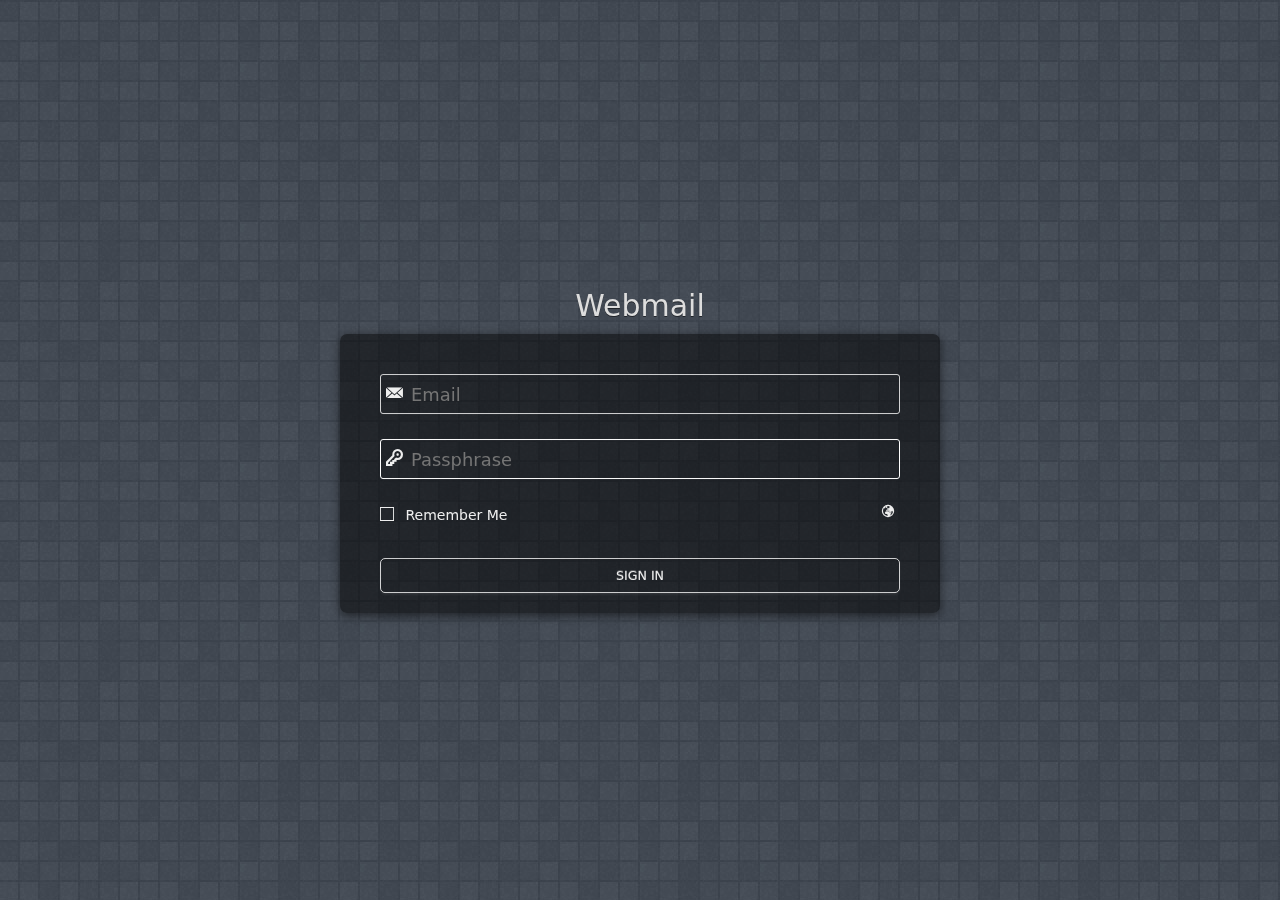
- Log in to Webmail. Even if the team plans to use desktop or mobile mail apps later, browser access is the cleanest fallback for launch-week testing.
- Review the primary admin contact. Make sure notices about DNS, billing, SSL, mailbox limits, or security events go to a monitored address.
- Set time zone and account preferences. Backup timestamps, scheduled tasks, and activity logs are harder to read when the account time zone does not match the team’s workflow.
The verification step is simple but important: write down who can access the control panel, who can access webmail, and who receives service notifications. If one of those answers is fuzzy, fix it now. Launch problems often become communication problems first.
A good control panel should also tell you whether the domain is already attached, whether mailboxes are provisioned, and whether SSL is pending or active. That gives you a useful baseline before you change anything.
Day 1: Domain and SSL Readiness
Day 1 is about making sure the public domain and the secure version of the site are moving toward the same destination.
Run this domain-readiness checklist:
- Confirm the exact domain names in scope. Note whether you are launching the root domain, the
wwwhostname, or both. - Check the domain connection status inside the control panel. The panel should show which hostnames are attached to the hosting account.
- Verify who manages DNS. If the DNS zone is not managed in the same platform, note where records will be edited before you continue.
- Review SSL status. Confirm whether the certificate is active, pending, or still waiting on DNS alignment.
- Open the public site over HTTPS. Make sure the secure version loads without warnings once the domain is correctly pointed.
If there is any uncertainty about domain registration details, ICANN Lookup is a useful cross-check before a cutover. It will not replace your registrar dashboard, but it can confirm the current registration state and help you avoid editing the wrong place.
The verification step for Day 1 is narrow: the intended hostname resolves to the hosting account, and HTTPS is either active or clearly waiting on a known DNS dependency. If the certificate state is vague, do not wave it through just because the plain HTTP site appears to load.
Day 2: DNS Sanity Check
This is the day to make DNS boring. A sane DNS check is not about memorizing every record type. It is about separating website records from email records and confirming that each one points where you expect.
Inside Domains & DNS, review these records:
- A or AAAA records for the website root hostname if the account uses direct server IPs.
- CNAME records where the setup uses a hostname target, often for
www. - MX records for inbound email routing.
- TXT records for SPF, DKIM, DMARC, or verification strings.
If the team needs a plain-language refresher on why propagation can feel inconsistent for a few hours, Cloudflare’s explanation of how DNS works is a useful reference. Context matters here: “not visible everywhere yet” and “incorrect value” are different problems.
The verification checklist for Day 2 should answer four questions:
- Do the website records point to the current hosting target?
- Do the MX records still point to the intended mail service?
- Are the TXT values complete, not partially copied or attached to the wrong hostname?
- Has the team documented which records were changed and when?
If you are launching several client sites or subdomains, this is also where simple naming discipline helps. Keep one short record of the current DNS state in a change log. It is much easier to troubleshoot from a written baseline than from memory.
Day 2: Email Authentication Setup
Once the zone is sane, move directly into email authentication. This is not a separate theory lesson. It is a launch check designed to keep legitimate messages deliverable and reduce obvious spoofing problems.
What you are usually setting or confirming:
- SPF to define which systems are allowed to send mail for the domain.
- DKIM to validate that outbound messages are signed by an approved sender.
- DMARC to tell receiving systems how to handle messages that fail alignment checks.
The safest workflow is to copy the exact values supplied in the control panel or mail setup area, then confirm that the records appear in the live DNS zone as intended. For a practical overview of how DMARC fits the authentication picture, the DMARC overview is a solid plain-language reference.
Here, the verification step is explicit:
- The SPF record contains the intended sending sources and is not split across conflicting entries.
- The DKIM value is complete and attached to the correct selector hostname if one is used.
- The DMARC policy exists and is not malformed.
- The control panel and DNS zone tell the same story.
New customers sometimes postpone this work because “email seems to send.” That is usually too loose a standard for launch week. Email can appear functional while authentication is still incomplete.
Day 3: Create the Email Structure
Day 3 is where the setup moves from infrastructure to actual people and roles. A mailbox plan that is clear on Day 3 saves cleanup on Day 30.
I would use this structure checklist:
- Create named user mailboxes for each active staff member or stakeholder who needs direct access.
- Create role-based aliases such as
sales@,support@, orbilling@where the business needs continuity beyond one employee. - Decide on a catch-all policy. If catch-all is enabled, document it. If it is disabled, document that too. Either way, do not leave it to guesswork.
- Use naming conventions consistently. A simple mailbox pattern is easier to support and easier to explain to new staff later.
For small teams, the useful question is not “How many mailboxes can we create?” It is “Which addresses should belong to a person, and which should belong to a business function?” That distinction matters when staff change roles or leave.
The verification step for Day 3 is practical: each required mailbox can log in, each role-based alias routes correctly, and the team can explain the structure without a hidden spreadsheet of exceptions.
Day 4: Test Deliverability and Routing
By Day 4, you want to stop trusting configuration alone and start trusting outcomes.
Run a short send-and-receive test plan:
- Send a message from one new mailbox to another mailbox on the same domain.
- Send a message from the domain to an external address the team controls.
- Reply from that external address back to the domain mailbox.
- Repeat one test through browser-based webmail, not only a desktop client.
- Confirm aliases route where expected and that any forwarding rules behave correctly.
Common symptoms to watch for:
- Mail sends internally but not externally.
- Mail receives externally but replies fail.
- One mailbox works in a mail app but fails in webmail, or the reverse.
- Role-based addresses route inconsistently because an alias or forward was attached to the wrong account.
The verification standard for Day 4 is modest but firm: send, receive, reply, and browser access should all work on the final domain. If not, this is the right moment to use Contact Support before launch pressure increases.
Day 5: Website Deployment Verification
Day 5 is where you verify that the website itself is complete enough to survive the public hostname going live.
For a WordPress or similar application deployment, the checklist usually includes:
- Files are present in the expected web root. Themes, plugins, uploads, or application assets should be in the right location.
- Database connection is working. The live site should connect cleanly without configuration errors.
- Permissions are sane. The application can function normally without granting reckless write access.
- Scheduled tasks or cron jobs are understood. If there are recurring imports, backups, or maintenance tasks, confirm they are configured intentionally.
Because this site runs in WordPress, the official WordPress hardening guidance is worth reviewing alongside normal file and plugin checks. Not every hardening item belongs to launch day, but the general baseline helps you avoid easy mistakes while the environment is still fresh.
The verification step here is visible and operational: load the live website, click through the key pages, test the forms or key actions, confirm the admin login works, and make sure no obvious database or permission warnings appear. If the business depends on the site for leads or support, this is also the right day to confirm the Contact path behaves the way the team expects.
Day 6: Backups and Security Baseline
Launch is not operationally complete until you know how recovery and account protection work. Day 6 is for making that explicit.
Use this baseline checklist:
- Confirm backup frequency. Know whether backups are daily, more frequent, manual, or a mix.
- Confirm retention. Know how long restore points are kept and whether email, files, and databases are all covered.
- Confirm restore scope. Know whether you can restore the full account, a database, or individual files.
- Review security features. Check login protections, SSL status, account alerts, and any access logs available in the panel.
- Limit high-risk access. Make sure only the people who need administrative authority still have it after launch week.
If your team needs the wider service-specific picture, the related Security & Backups page covers the longer-term hosting side. This article keeps the focus on what should be checked before the first week closes.
The verification step for Day 6 is simple and non-negotiable: someone on the team should be able to answer where the backups are, what they include, how long they are retained, and who can restore them. If that answer depends on “we will figure it out later,” the environment is not ready enough.
Day 7: Final Operational Checks
The last day is not about adding more systems. It is about reducing ambiguity.
My recommended final checklist looks like this:
- Document the current setup. Record where DNS is managed, which mailboxes exist, whether SSL is active, and what the backup policy is.
- Set expectations for monitoring. Decide who notices if the website, mailbox, or certificate has a problem.
- Store credentials and recovery notes safely. The goal is controlled access, not scattered passwords.
- Capture the first-week change log. Note what was changed, by whom, and when.
- Confirm the support path. Make sure the team knows when to self-manage and when to escalate.
For agencies or distributed teams, this is also a reasonable place to keep a lightweight operational checklist or launch runbook in a shared repository such as GitHub. The point is not ceremony. The point is that next month’s troubleshooting should not depend on remembering what happened this week.
A Compact Verification Table for the Full Week
| Day | Main Goal | What Must Be Verified |
|---|---|---|
| Day 0-1 | Access and account basics | Control panel login, webmail login, admin notifications, time zone |
| Day 1 | Domain and SSL readiness | Correct hostname connection, clear SSL status, HTTPS check |
| Day 2 | DNS sanity | Website records, MX records, TXT records, written change log |
| Day 2 | Email authentication | SPF, DKIM, DMARC values are correct and visible |
| Day 3 | Email structure | Mailboxes, aliases, catch-all decision, naming conventions |
| Day 4 | Deliverability and routing | Send, receive, reply, alias behavior, webmail access |
| Day 5 | Website deployment | Files, database, admin access, critical pages, expected app behavior |
| Day 6 | Backups and security baseline | Backup schedule, retention, restore scope, security settings, access review |
| Day 7 | Operational readiness | Documentation, monitoring owner, credential storage, support path |
Final Takeaway
The useful way to think about launch week is not “set up everything fast.” It is “reduce uncertainty in the right order.” When access is confirmed, DNS is sane, email is authenticated, webmail works, the website is verified, and backups are understood, launch day becomes much less dramatic.
If you want the shortest summary, it is this: verify each layer before you move to the next one, and leave written notes behind you as you go. That is what turns a new hosting account into a supportable environment rather than a collection of hopeful settings.
Get Started if you are preparing a new site, Manage Hosting if you are already inside the account, Contact Support if a launch check is failing, or Request Hosting Plan if you want a simpler starting point for hosting, email, DNS, and backups.