I treat launch week like a controlled sequence, not a creative sprint. A site can look ready while DNS, email, permissions, and backup settings are still one wrong assumption away from trouble. The safest way to launch or relaunch a WordPress site is to work in order: access first, domain and DNS second, hosting third, email fourth, then testing, security, and documentation.
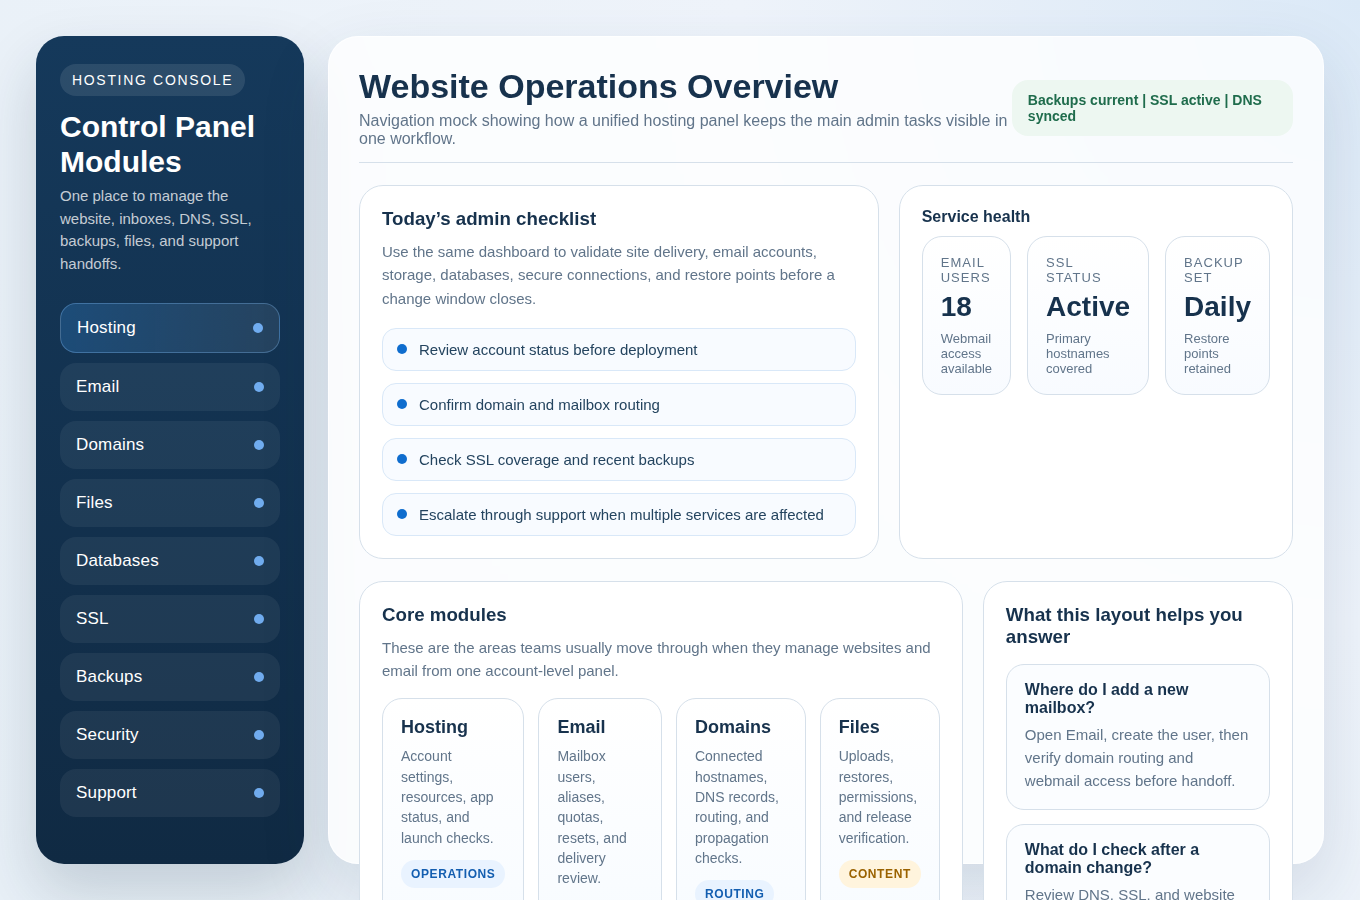
If you are still deciding what your service stack should include, start with the foundations on Website Hosting, Email Hosting, and Control Panel. The reason this sequence matters is simple: user roles control who can change settings, DNS records control where traffic and mail go, and SSL controls whether visitors see a secure connection. WordPress documents roles and capabilities in its own help center, Cloudflare keeps a plain-language reference for DNS records, and Let’s Encrypt explains the certificate flow that makes HTTPS practical. If you need to confirm who actually controls a domain, ICANN Lookup is the cleanest place to start.
This checklist is built for small businesses and agencies that want a launch routine they can repeat. By the end, you should know who has access, what to verify each day, what to save in your records, and how to catch the failures that usually show up after a rushed launch. When the line is held, the work gets quieter.
| Day | Focus | What success looks like |
|---|---|---|
| Day 1 | Account access and roles | Only the right people can change the right settings. |
| Day 2 | Domains, DNS, and SSL readiness | Records point where they should and HTTPS is ready to issue. |
| Day 3 | Hosting setup | WordPress files, database, and file permissions are in order. |
| Day 4 | Email hosting setup | Accounts, aliases, and routing rules are documented and working. |
| Day 5 | Webmail and client testing | Mail sends, receives, and lands where it should. |
| Day 6 | Backups and security verification | You know the restore path and the security baseline is checked. |
| Day 7 | Final validation | DNS, site load, and test mail all pass before the handoff. |
Launch Vocabulary: The Terms That Matter
You do not need to memorize networking textbooks to launch safely. You do need a shared language so nobody guesses at the wrong layer. These are the terms I keep on the board.
| Term | Plain meaning | Why it matters at launch |
|---|---|---|
| A / AAAA | Records that point a domain to an IPv4 or IPv6 address. | They send the website traffic to the server. |
| CNAME | An alias that points one name at another name. | Useful for subdomains and service routing. |
| MX | Mail exchanger record. | It tells the internet where to deliver email. |
| TXT | A text record used for verification and mail policy. | Commonly used for SPF, DKIM, and DMARC. |
| TTL | Time to live, or how long a record may be cached. | Shorter values can speed up a change window. |
| SSL / TLS | The encryption layer behind HTTPS. | Needed for secure browsing and trust signals. |
| Webmail | Email in a browser. | It is the fastest way to test mailbox access. |
| Cron | A scheduled task runner. | WordPress updates, backups, and cleanup jobs often depend on it. |
Day 1: Lock Down Access and Roles
The first job is not glamorous. It is ownership. Before anyone touches content, DNS, or mailboxes, write down who is responsible for each part of the launch. If you are working with an agency, a freelancer, or an internal team, separate the roles now. The person who updates plugins should not automatically be the person who can change MX records or delete a mailbox.
WordPress explains the core model in Roles and Capabilities. That is the right mental frame: give people only the permissions they need, and no more. On the site itself, make sure you know who can edit posts, who can manage themes and plugins, and who has access to hosting and domain settings in the control panel.
What to do
- List every admin account, mailbox owner, and external contractor who needs access.
- Remove shared logins where possible. Shared passwords are a bad habit that turns into a support ticket later.
- Assign roles deliberately. Editors should not be site admins unless they truly need that level of control.
- Confirm the recovery contact for each critical account. If a password reset is needed, who receives it?
- Turn on two-factor authentication anywhere the platform supports it.
What to verify
- You can sign in with the correct role for each person.
- No one outside the launch team can change DNS, email routing, or backups.
- The control panel shows a clear account owner and a support path.
What to record
- Primary admin username.
- Backup contact email.
- Where credentials are stored securely.
- Who approves emergency changes after launch.
When this step is done well, the rest of the week gets easier. When it is done poorly, every later change becomes a debate about access rather than a normal operational task.
Day 2: Set the Domain and DNS Baseline
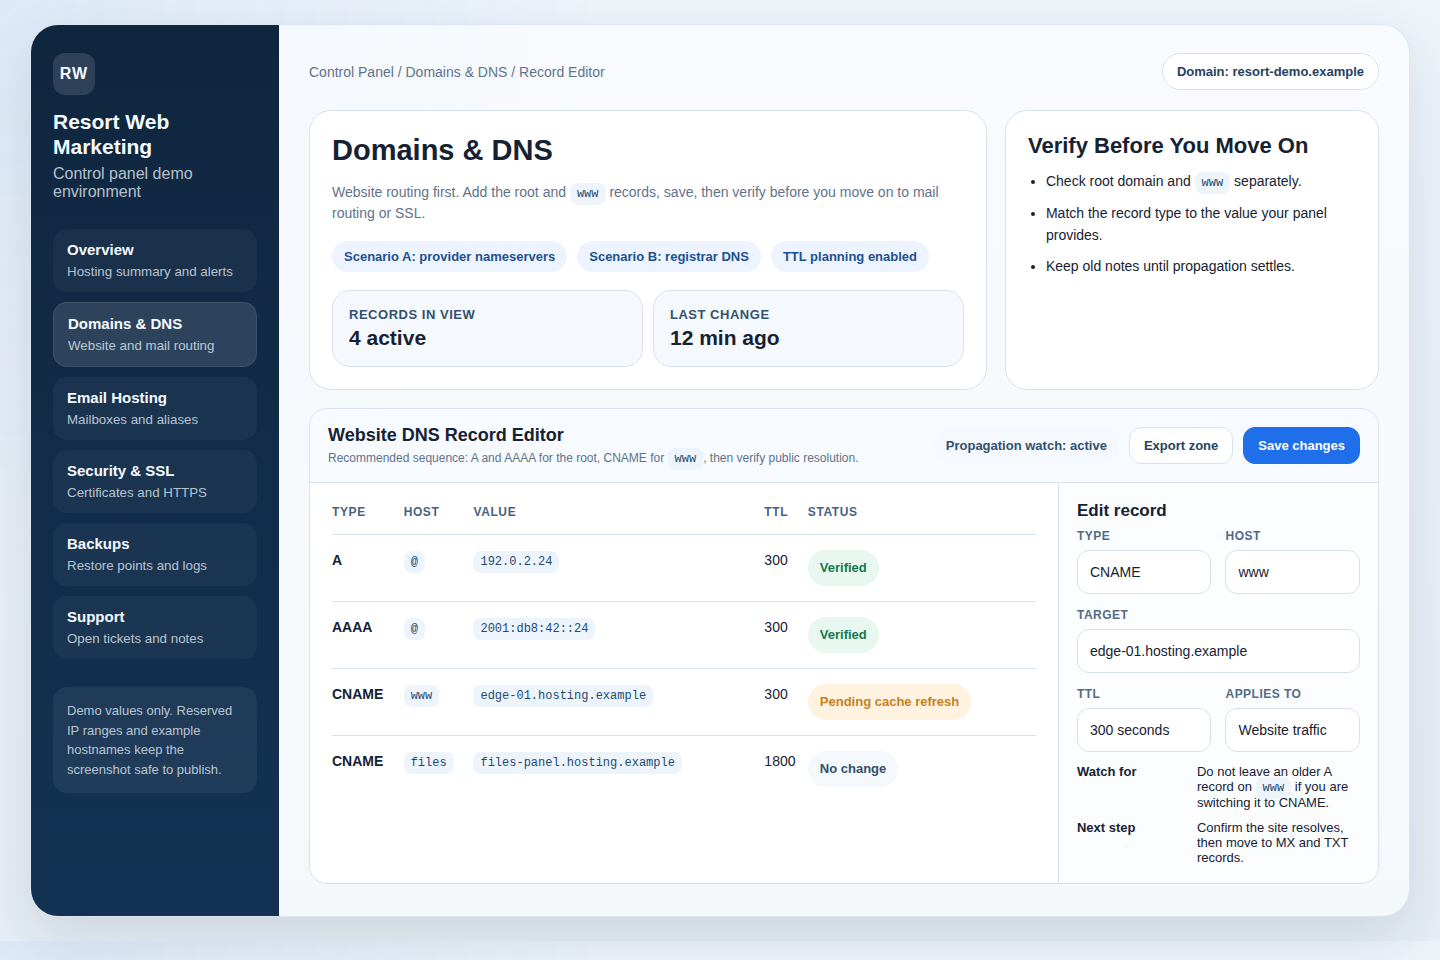
DNS is where many launches drift sideways. The records are simple on paper and easy to break in practice. Before you move anything, confirm where DNS is actually managed, what nameservers are authoritative, and whether the domain is already pointing at the correct provider. If you need to verify the registrar and nameserver state, use ICANN Lookup and compare it with the settings in your control panel.
For the website itself, the usual pattern is A or AAAA records for the root domain and a CNAME for common subdomains. For mail, MX records decide where messages land, while TXT records often carry SPF, DKIM, and verification data. The easiest way to make this understandable is to work from a simple record sheet rather than from memory.
What to do
- Confirm the authoritative nameservers before you edit records.
- Document the current A, AAAA, CNAME, MX, and TXT records.
- Lower TTL values only if you are preparing for a change window and your provider allows it.
- Check whether the root domain and `www` should resolve to the same destination or different ones.
- Make sure the MX records do not point at the web server unless mail is intentionally hosted there.
SSL readiness
HTTPS should not be an afterthought. If you are using a certificate authority workflow such as Let’s Encrypt, confirm the validation method before launch so you are not discovering missing DNS or blocked ports in the middle of the window. The certificate should be ready to issue, and the site should be prepared to force HTTPS once the certificate is active.
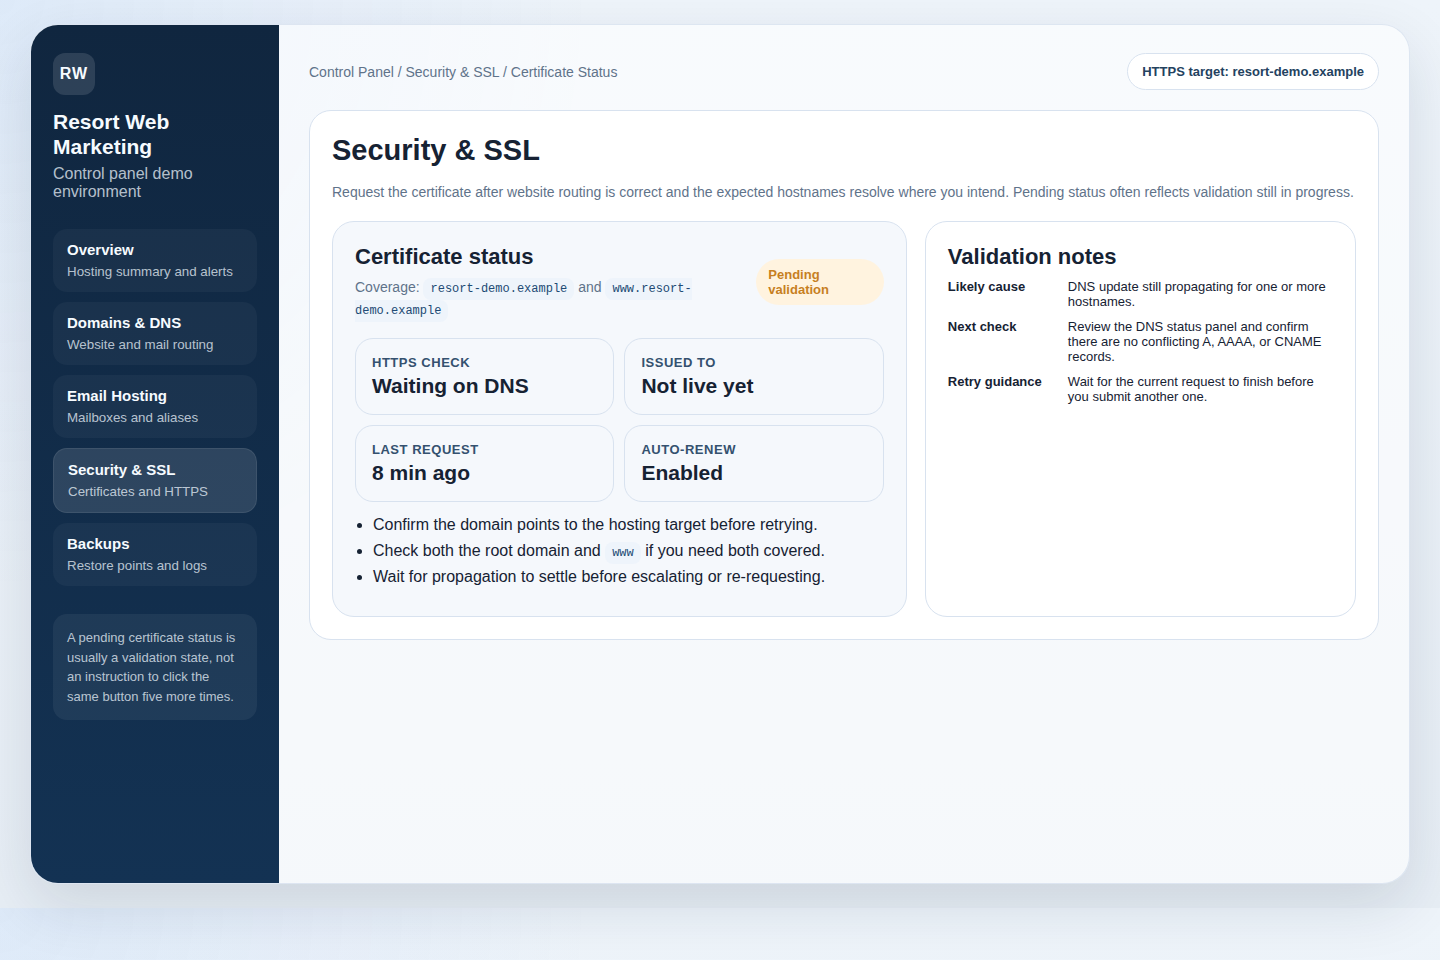
Do not confuse “certificate requested” with “certificate working.” A launch is not complete until the browser shows a clean secure connection on the public URL and the redirect path is tested from both the bare domain and the `www` version.
What to verify
- The website resolves to the correct server from the public internet.
- MX records are not broken by a rushed website cutover.
- SSL is ready to issue or already active.
- There are no stray records left over from a previous host that could confuse traffic or mail.
If you need a deeper reference while you check the record types, Cloudflare’s plain-language guide to DNS records is a good external reference because it keeps the record types separate instead of blending them together.
Day 3: Prepare the Hosting Layer
Once the name resolves correctly, move to the server layer. This is where the site files, the database, and the working directory come into view. The goal is not to make the server look busy. The goal is to make it predictable.
On a clean launch, the web root should be obvious, the WordPress files should be in the right place, and the database should have a known owner and known credentials. If the control panel offers file manager access, SFTP/FTP settings, database creation, and cron controls, verify each one now. That is the practical meaning of “full control.”
What to do
- Confirm the web root for the site and make sure the right WordPress files are there.
- Create or verify the database and database user.
- Check file ownership and permissions so the site can read what it needs without opening the door too far.
- Review scheduled tasks and cron settings for updates, backups, or imports.
- Make sure the control panel gives you a clear path back to Website Hosting and Control Panel support docs if something breaks.
What to verify
- WordPress loads from the intended directory.
- The database connection works with the expected user account.
- Uploads are writable, but not world-open.
- Any scheduled job you depend on actually runs on the schedule you expect.
It helps to keep a second copy of the essentials in a working note: database name, database user, web root, the PHP version in use, and the restore path. This is the kind of information people forget after launch, then need the most.
Day 4: Set Up Email the Right Way
Email is not just “mailboxes exist.” Email is an operating system for small business communication. Accounts need names, aliases need a policy, and routing needs to be confirmed before people start handing out addresses to customers. If your plan includes Email Hosting, use the control panel to create the mailboxes and decide who owns which inbox.
Common mail setup questions show up here: Do you want a catch-all address? Do you need shared aliases like info@, billing@, or support@? Who can reset mailbox passwords? Which mailboxes are temporary and which are long-term? Decide now, because changing the policy later is harder than setting it correctly once.
What to do
- Create the primary business mailbox and the required aliases.
- Set mailbox quotas or storage limits if the platform supports them.
- Decide whether to use a catch-all address. If you do, document why and who watches it.
- Add the DNS records needed for mail authentication and routing.
- Confirm that the control panel and the public help path both point to the right places, including Webmail for browser-based access.
What to verify
- The right mailbox receives the test message.
- Aliases deliver where they should.
- Spam controls are visible enough to manage, not hidden in a corner nobody remembers.
- Sender names and reply-to behavior are correct for the business.
Do not skip the authentication records. SPF, DKIM, and DMARC are the difference between “we set up a mailbox” and “we set up a mailbox that other providers are more likely to trust.” The exact records vary by provider, but the responsibility does not.
Day 5: Test Webmail and Mail Clients
This is the day when the setup leaves the admin panel and touches real use. Sign in to webmail, then test at least one mail client on desktop or mobile. If a team is going to live in email every day, the browser login and the IMAP/SMTP path both need to work.
What to do
- Sign in to webmail with the new account.
- Send a message to an external mailbox and reply back.
- Connect a mail client and confirm IMAP or SMTP settings.
- Test attachments, folder creation, and search.
- Check how messages appear in spam, junk, or promotions folders on the receiving side.
What to verify
- Inbound and outbound mail both work.
- Authentication records are not failing silently.
- The business address is not landing in the wrong folder by default.
- Team members can access the mailbox without sharing a single credential across the group.
If the site uses shared inboxes or role-based mail access, make sure the support pages and the operational pages agree on how those inboxes are meant to be used. That is one reason the Support page should stay current: people need a place to go when the mailbox behaves differently on a phone than it does in the browser.
Day 6: Verify Backups and Security Settings
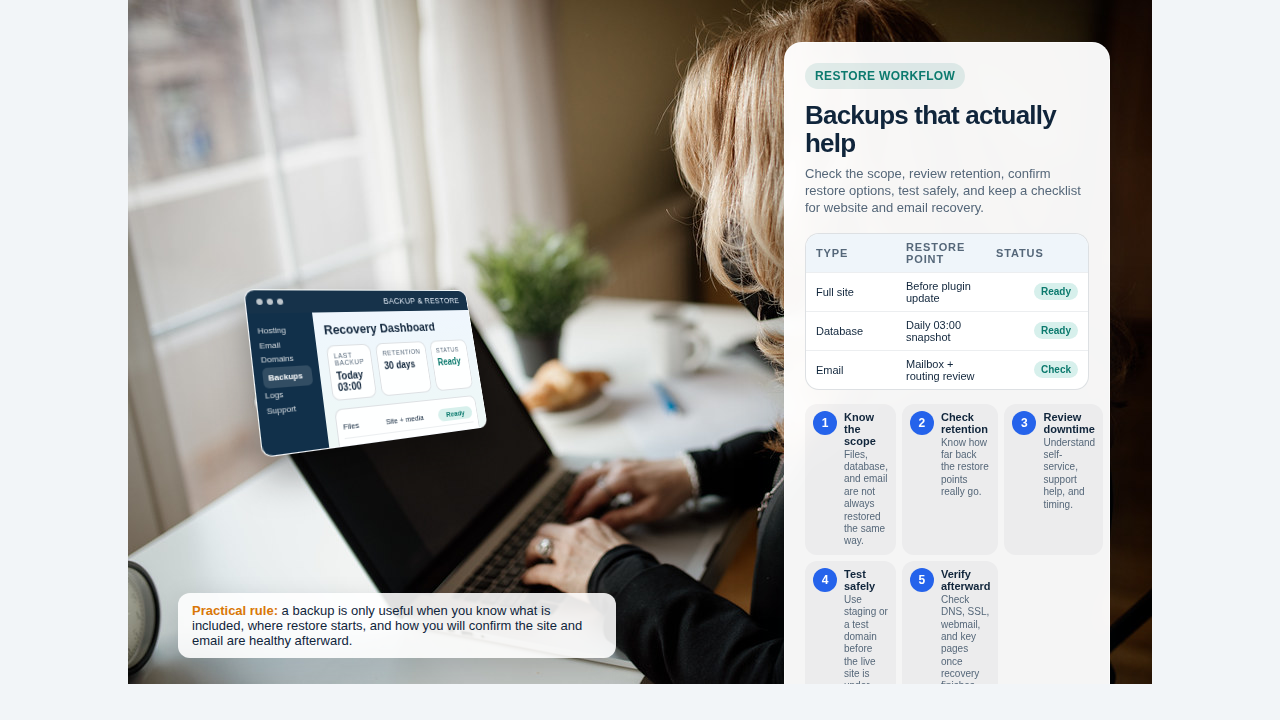
Backups are not a comfort blanket. They are a recovery path. If a restore cannot be completed in a controlled way, then the backup is only a file with a reassuring name. Day 6 is where you verify not just that backups exist, but that someone can use them.
What to do
- Confirm the backup schedule, retention window, and restore point location.
- Check whether files, databases, and email are all protected or only part of the stack is covered.
- Review access logs, login alerts, password policy, and any brute-force protections that are available.
- Make sure the launch team knows where the backup/restore tools live in Security & Backups.
- Record one tested restore path, even if you never expect to use it.
What to verify
- The last backup date is recent enough for the business risk you carry.
- The restore process is understandable without vendor guesswork.
- Security settings do not rely on a single human remembering everything.
- Someone on the team can explain where logs live and what gets flagged.
This is the point where a lot of launches get lazy. They assume backups are “configured” and move on. Do not do that. Check the schedule, then check the restore, then write down the result.
Day 7: Final Validation Before Go-Live
On the final day, slow down. This is the last chance to catch the boring mistakes that cost the most time after launch. Open the site from a fresh browser profile. Test the public URL. Test the `www` version. Test a form submission. Test email again. Then give the DNS enough time to settle if you made a recent change.
What to do
- Load the homepage and a few internal pages from the public site.
- Check HTTPS on the root domain and the `www` variant.
- Send test messages to more than one provider if you can, so you do not trust a single inbox view.
- Look for stale DNS caches or records that still point at the old host.
- Review the handoff path so the client or internal owner knows where to go next.
What to verify
- The site loads without certificate warnings.
- Forms submit and land in the expected mailbox.
- Email delivery is not tripping obvious spam filters.
- The launch team can explain the live configuration without opening ten tabs and guessing.
At this stage, your work should be calm and repetitive. That is a good sign. Launches are supposed to become boring before they become public.
What to Save Before You Go Live
After launch, the right notes save hours. I keep a small record sheet for every site because memory gets worse the moment something breaks.
| What to save | Why it matters | Where to store it |
|---|---|---|
| DNS records | Needed for future changes, audits, and troubleshooting. | Secure operations note or password vault attachment. |
| Admin contacts | Needed when access has to be recovered fast. | Team roster or account register. |
| Mail routing notes | Shows which MX and TXT records were in place at launch. | Launch checklist archive. |
| Backup and restore notes | Makes recovery repeatable instead of improvised. | Runbook or support knowledge base. |
| Support path | So the team knows where to go when something fails outside business hours. | Support page and internal operations doc. |
Common Launch Mistakes to Avoid
- Wrong MX records. Mail may appear fine for one account and fail for another if the routing is split or stale.
- Missing SPF, DKIM, or DMARC. Messages can be accepted by your server and still land badly at the recipient side.
- SSL not active. Visitors will see warnings, and the site will look unfinished even if the content is ready.
- Overlooked permissions. A file or directory that is too open can create a security problem; too closed can break uploads or updates.
- No tested restore path. A backup you cannot restore is only an archive, not a recovery plan.
- Using one mailbox for everything. Shared inboxes are useful, but a single password for the whole business is not a plan.
Close the Loop
A clean launch is mostly discipline. The control panel gives you the tools, but the sequence still matters: access, DNS, hosting, email, testing, security, and records. If you work that sequence once, you can repeat it every time a site goes live.
If you are still setting the stack up, use Website Hosting to confirm the hosting layer, Email Hosting to sort the mailboxes, Domains & DNS to review the records, and Security & Backups to verify the recovery path. If you need a hand before go-live, go to Contact Support. If you are ready to move forward with a plan, use Request Hosting Plan and lock the schedule before the next change window opens.
Key takeaways:
- Access and roles come first. If permissions are sloppy, everything after that gets harder.
- DNS and SSL are launch-critical. Verify records and HTTPS before you announce anything.
- Hosting setup should be boring: right files, right database, right ownership, right schedule.
- Email must be tested in both webmail and a client, with authentication records in place.
- Backups only count if someone can restore from them.
- Documentation is not extra. It is how the site stays manageable after launch day ends.