A launch checklist you can actually follow: hosting, email, DNS, SSL, and backups—sequenced in the order that reduces “why is email not working?” stress.
When you search for a launch guide, you’re usually asking: What do I set up first—domain, hosting, or email? Which DNS records matter for both my website and my inbox? And once everything looks “on,” how do I confirm it’s secure and backed up?
This matters because DNS and email routing are tightly connected. For example, the DNS record types used for email delivery (like MX and TXT for authentication) are defined and explained by standards organizations and major email infrastructure documentation. RFC 5321 (SMTP) and RFC 1034/1035 (DNS) are the foundations behind why records must be correct before mail will route reliably.
By the end of this guide, you’ll have a practical, vendor-agnostic launch sequence plus a short verification checklist you can reuse whenever you add a new team member, domain, or website change.
Quick-start checklist (the short answer)
Use this order of operations. Each step builds on the last:

| Step | Do this | What “done” looks like |
| 1 | Prepare domain, hosting, and email access | You can sign in to your control panel, and your hosting + email plan is provisioned |
| 2 | Set DNS records and verify propagation | Website resolves and email routing records are visible |
| 3 | Enable SSL and confirm secure connections | Your site loads on https:// with no certificate warnings |
| 4 | Create mailboxes, aliases, and webmail access | Users can log in to webmail and send/receive test messages |
| 5 | Test backups, forms, and contact addresses | Backups restore correctly and forms/email notifications reach the right inbox |
Step 1 — Prepare domain, hosting, and email access
Before you touch DNS, make sure you have the access pieces you’ll need. This prevents the classic situation where a domain change is “done”… but no one can log in to anything.
Gather the essentials
- Domain details: where the domain is managed (registrar vs DNS host) and what the current nameservers are.
- Hosting access: control panel login and the hosting workspace where your website files and database live.
- Email access: your email service setup info (mail server settings and/or control panel area for mailboxes).
If you want the full picture of what hosting should include, start with Website Hosting and Email Hosting. They’ll help you sanity-check that your plan actually covers both the web and email pieces.
Definition (plain English): A control panel is where you manage your website and email together—domains/DNS, SSL status, mailboxes, backups, and security settings.
Step 2 — Set DNS records and verify propagation
DNS is the traffic controller. If records aren’t right, your website or email can fail—even if hosting and mailboxes are configured perfectly.
Know which records you’re aiming to configure
Most new business setups will touch these categories:
- Website routing: typically A/AAAA and/or CNAME depending on your setup.
- Mail routing: MX records to tell other servers where to deliver email.
- Email authentication: TXT records for SPF (and often DKIM/DMARC) to improve deliverability and reduce spoofing risk.
For a focused walkthrough of the record types and common mistakes, use Domains & DNS.
Verification: don’t guess—confirm
After you update DNS, give it time to propagate, then verify in two ways:
- Website check: your domain loads the intended landing page.
- Email check: an external view of your records shows the expected MX and TXT entries.
For definitions and the underlying standards, RFC 1034 (DNS concepts) and RFC 1035 (DNS implementation) are helpful references. RFC 1034 and RFC 1035 explain why the record types behave the way they do.
Step 3 — Enable SSL and confirm secure connections
SSL turns your domain from “secure-ish” to actually secure: browsers use it to encrypt traffic and validate that you’re connected to the right site.
In your hosting/control panel, enable SSL for the domain, then confirm two things:
- Certificate status: not pending, not failing.
- Browser check: your homepage loads on
https://without warnings.
While SSL details vary by provider, the general behavior is described in the TLS/HTTPS documentation. If you need a baseline for what “HTTPS” expects, see MDN’s HTTPS overview.
Common pitfall to avoid
Don’t mark SSL “done” until the browser confirms it. If you enable SSL before DNS is fully correct, it can linger in a pending state or fail silently depending on your environment.
Step 4 — Create mailboxes, aliases, and webmail access
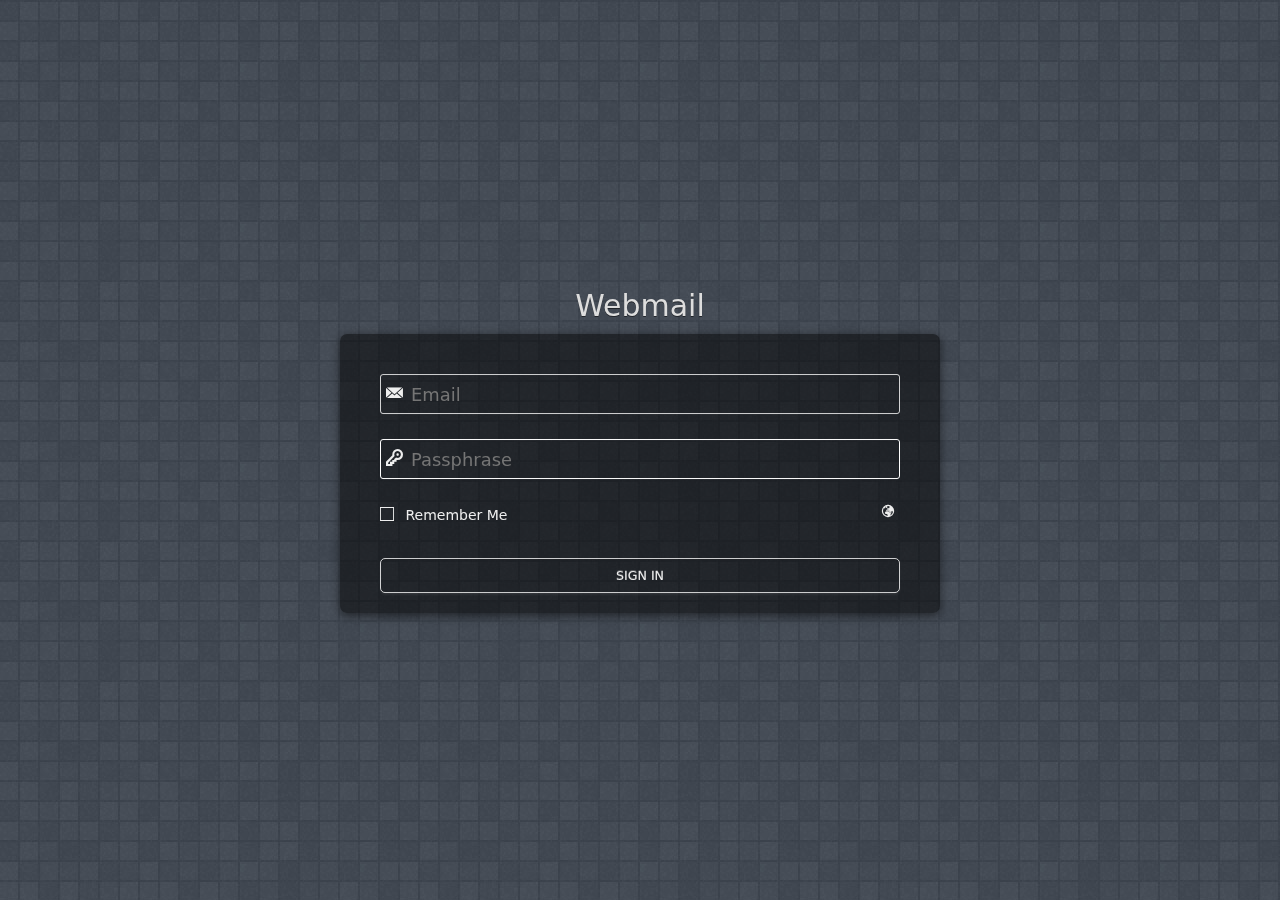
Now that DNS is aligned and SSL is working for your website, it’s time to set up the people parts: mailboxes, aliases, and webmail logins.
Set up the addresses your business will actually use
- Mailboxes (for individual users): e.g.,
[email protected] - Aliases (for routing and branding): e.g.,
sales@orsupport@that forward to a mailbox or team inbox - Shared inboxes (optional but common): customer requests handled by a team
Then, test webmail access for every role you’ll hand credentials to. If your staff will rely on webmail while traveling or on multiple devices, create logins and do a real sign-in test.
For more on the day-to-day options (webmail vs desktop/email clients), see Webmail.
Step 5 — Test backups, forms, and contact addresses before launch
This is the “nothing breaks after go-live” step. It’s also the step most teams skip—until they’re staring at a form submission that never reaches the inbox.
Backups: test recovery, not just the schedule
Ask your control panel (and your team) these questions:
- Where do backups show up? (backup/restore section)
- How often are they taken?
- How long are restore points retained?
- Can you restore a file/database to a test environment?
For a checklist-style overview of what backups and restore workflows should include, visit Security & Backups.
Forms and contact emails: do a full dry run
Before you announce the launch, send yourself test messages:
- Submit the website contact form and confirm the message arrives.
- Email the addresses you listed on the site (support/sales/etc.) and verify delivery.
- Test any newsletter signup or automated replies you rely on.
A printable “done” list (copy/paste)
| Area | Done check |
| Domain + access | [ ] Control panel access works [ ] Email access works |
| DNS records | [ ] Website routing resolves [ ] MX + auth TXT records look correct |
| SSL | [ ] Site loads on HTTPS [ ] No certificate warnings |
| Email users | [ ] Mailboxes created [ ] Aliases/shared inboxes routing correctly [ ] Webmail sign-in works |
| Before launch | [ ] Backup restore test completed (at least once) [ ] Forms/contact addresses receive tests |
One last question: what changes after launch?
Launching isn’t the end of operations. In the first week, schedule time to:
- Confirm you can access backups and restores.
- Review incoming email for spam filtering behavior.
- Check that DNS/SSL remain stable after any planned website updates.
Next step: If you’re mapping your setup, start with Contact to talk through your launch sequence and what “good verification” looks like for your exact domain + email needs.