Agencies usually do not fail because email is complicated. They fail because the setup has too many moving parts: domain ownership, DNS access, mailbox planning, authentication records, and client handoff. One missing TXT record or a forgotten webmail login path is enough to turn a routine launch into a support queue.
This checklist keeps the work organized around one principle: DNS is the control point, while the control panel is the place to manage the mail service itself. The goal is not perfection. The goal is a setup that is consistent, testable, and easy to support.
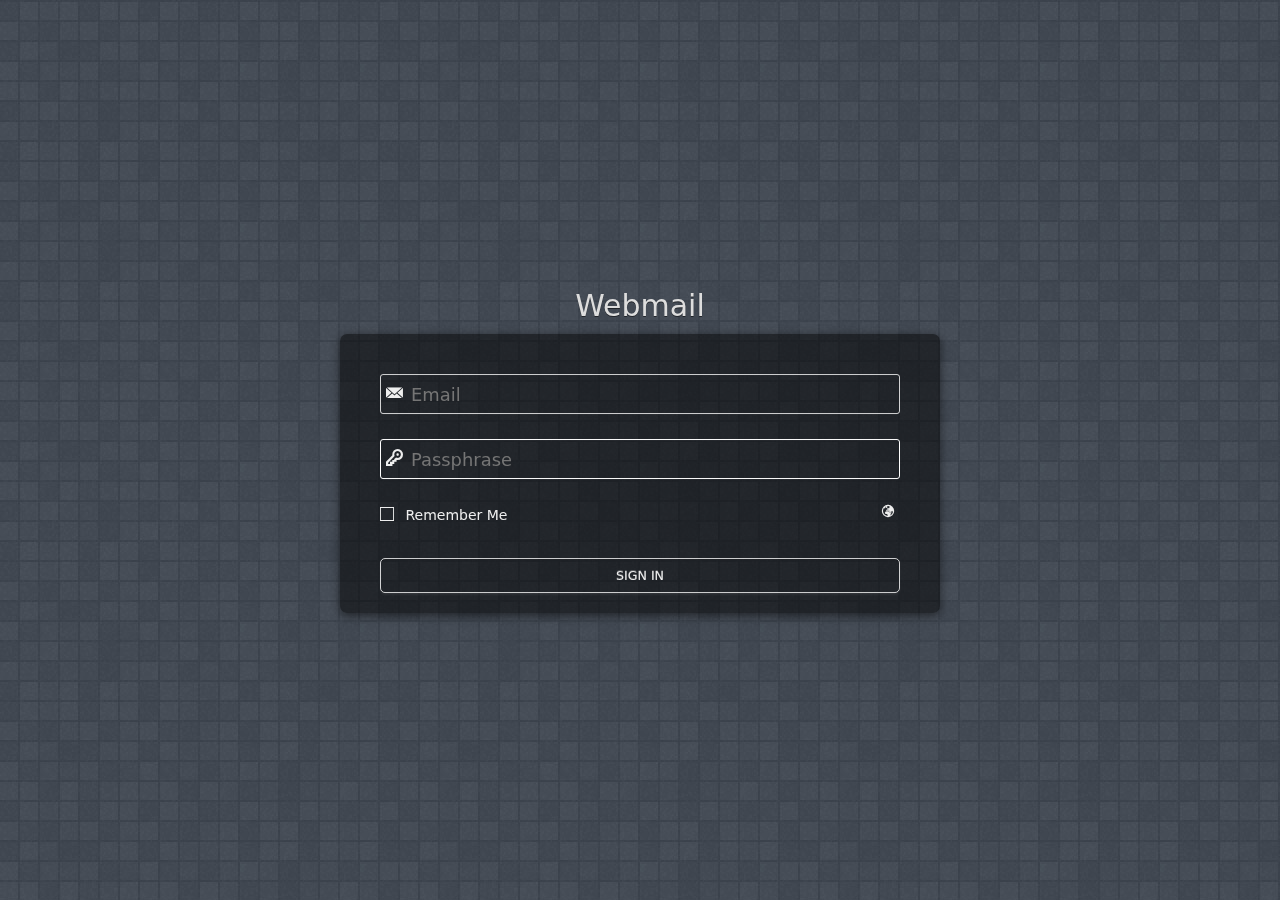
Why agency email setup still fails
The most common errors are familiar:
- the agency does not confirm who controls the domain registrar and DNS zone;
- MX records are added late, duplicated, or pointed at the wrong host;
- SPF is published twice instead of being merged into one record;
- DKIM is enabled in the mailbox system but never copied into DNS;
- DMARC is left at monitoring-only forever, with no documented decision path;
- webmail works in one browser but is never checked on mobile or desktop mail apps.
Google’s email sender guidelines and Microsoft’s overview of email authentication both point to the same baseline: SPF, DKIM, and DMARC are no longer optional decorations. They are part of a sane business email setup.
Step 1: Confirm the domain, hosting account, and mailboxes you need
Before touching DNS, define the scope. A tidy plan saves time later.
| Decision | What to confirm | Why it matters |
|---|---|---|
| Domain ownership | Who controls the registrar and DNS login | You cannot safely verify or change mail records without access |
| Mailbox count | Which addresses are required for launch | Prevents missed accounts and rushed aliases |
| Aliases and forwards | Whether info@, hello@, and support@ are needed | Reduces unnecessary paid mailboxes |
| Recovery access | Who holds admin credentials and reset email paths | Limits lockout risk after the handoff |
If the site already has email hosting bundled with the account, verify the mailbox limits, storage quotas, and any sending rules before provisioning. If the client wants the same team to manage the website as well, it helps to review the control panel first so the workflow is consistent.
Step 2: Publish the right DNS records for mail delivery and verification
DNS is where mail routing and verification are declared. ICANN’s explanation of domain names and DNS is useful here: the records attached to a domain decide how traffic and mail are handled.
At minimum, confirm these records:
- MX records for inbound mail routing;
- SPF TXT record for authorized sending sources;
- DKIM TXT record for message signing;
- DMARC TXT record for policy and reporting;
- any provider-specific verification records requested by the mail platform.
Cloudflare’s documentation on email authentication is a clear reminder that these records live in DNS, not inside the mailbox itself. That separation is the source of many setup mistakes.
Practical DNS checks
- Use one source of truth for each record type.
- Do not publish multiple SPF records; merge them.
- Keep TTL values reasonable so changes propagate without needless delay.
- After edits, document the exact hostnames and values used.
Step 3: Configure SPF, DKIM, and DMARC before launch
These three records work together, and they should be planned as a set rather than in isolation.
| Record | Purpose | Agency checklist item |
|---|---|---|
| SPF | Tells receivers which servers may send for the domain | List all approved senders once, then validate the final string |
| DKIM | Adds a cryptographic signature to outgoing mail | Publish the public key in DNS and confirm signing is active |
| DMARC | Sets policy and alignment rules for authentication results | Start with monitoring, review reports, then tighten policy when ready |
Use a measured rollout:
- Enable DKIM in the mail service and copy the selector record into DNS.
- Build the SPF record with every legitimate sender included.
- Publish DMARC with a reporting address and a conservative starting policy.
- Test from the actual domain, not from a generic test account.
If you need a broader reference on the mechanics, our email hosting and domains & DNS pages cover how these parts sit inside the control panel workflow.
Step 4: Test sending, receiving, and webmail login from multiple devices
Do not stop at “the mailbox exists.” Check the paths people will actually use.
- Send a message from the new domain to an external mailbox.
- Reply back and confirm inbound delivery.
- Log in through webmail in at least one desktop browser and one mobile browser.
- Set up the account in a desktop or mobile mail client if the client expects that workflow.
- Check that sent mail shows the correct display name, reply-to behavior, and signature.
A useful rule: if the login works only on the machine that configured it, the setup is not done yet. That is not drama; it is unfinished work.
Step 5: Document access, recovery, and support handoff for the client
Agency handoff should answer four questions:
- Who owns the domain and the email admin account?
- Where are the DNS credentials stored?
- How does the client access webmail if their app stops syncing?
- Who should they contact for support, and what should they include in the request?
Keep a short internal document with mailbox names, aliases, record values, and recovery contacts. Then add a plain-language client version that explains how to sign in, reset access, and recognize a normal support issue versus a DNS issue.
A simple control-panel workflow for managing domains, DNS, files, and email together
A clean control panel workflow reduces mistakes because the agency is not jumping between unrelated tools.
- Confirm the domain and DNS zone.
- Set up the mailbox structure.
- Publish MX, SPF, DKIM, and DMARC records.
- Verify SSL and login security for webmail access.
- Document file, database, and account access alongside email details.
That same dashboard should also make it easy to manage hosting, review security and backups, and route the client to support without guessing which team owns what.
When to use webmail vs. desktop or mobile mail apps
Webmail is the best default for recovery, travel, and quick access from any device. Desktop and mobile apps are better for people who want a unified inbox or offline access. The practical answer is usually both:
- Use webmail for emergency access, password resets, and checking whether the mailbox itself is healthy.
- Use mail apps for day-to-day productivity if the client prefers them.
When the two disagree, webmail is often the cleaner diagnostic tool. It shows whether the problem is with the server or with the app configuration.
A short launch checklist agencies can reuse
- Confirm domain ownership and DNS access.
- List every mailbox, alias, and forwarder needed for launch.
- Publish MX records for the correct mail host.
- Publish one SPF record that includes all approved senders.
- Enable and verify DKIM.
- Set DMARC with a documented starting policy.
- Test send, receive, reply, and webmail login.
- Document recovery contacts and handoff instructions.
- Save the final DNS values in the client record.
If you want a broader reference for planning the surrounding hosting stack, start from the homepage and move into the core service pages in order: Website Hosting, Email Hosting, and Control Panel.
Bottom line: agency email setup succeeds when the DNS records, mailbox structure, webmail access, and support handoff are treated as one operational system. Decide the scope first, verify the records carefully, test from real devices, and document what the client needs next.
For further reading, see Google’s sender guidance, Microsoft’s authentication overview, and ICANN’s DNS explanation.